This guide will help in the setup of a key card EnOcean switch. The main purpose of a key card switch, in most cases, is to enable and disable specified group of lights so when there is no card inserted, the lights are not controllable. Although, when the key card is inserted, the lights are fully controllable, as normal operation.
*This feature is available with the newest Casambi application and minimum firmware of v44
Setup Instructions
Step 1: Add EnOcean Key Card & Set Model
Step 2: Setup a default 'Inserted' and 'Not Inserted' Scene
Step 3: Test the setup
Step 1: Add EnOcean Key Card & Set Model
- Open the Casambi application to required network and add the key card switch in the same fashion of a normal EnOcean switch. Please click the link above for more information on pairing EnOcean devices.
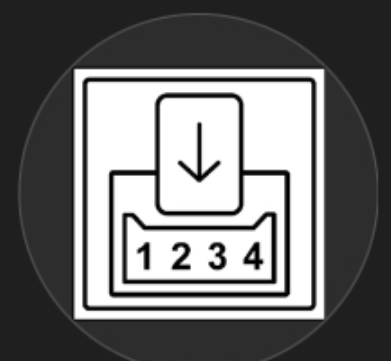
- Once the switch is paired via NFC, when prompted to 'Select Model', select the key card image (shown below), then select the applicable faceplate on the next prompt (shown below)

In most cases, the faceplate with '1' will be used. With certain devices, there may be certain applications where there are more then 1 (up to 4) selectable actions are configurable, which is the alternate option for the faceplate.
Step 2: Setup a default 'Inserted' and 'Not Inserted' Scene
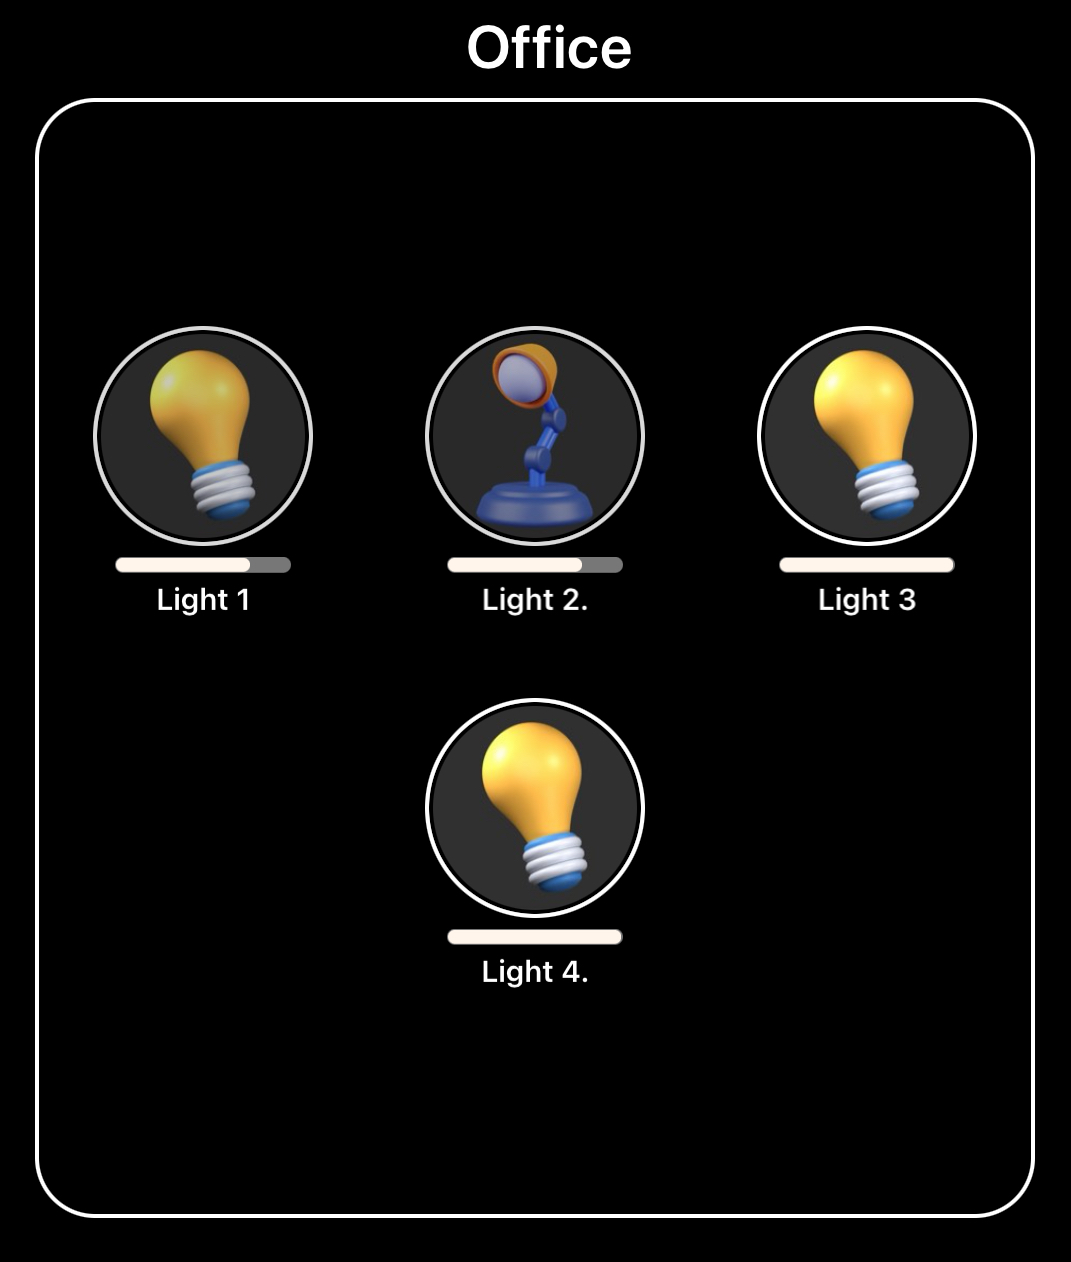
- Create 2 scenes with the desired lights/devices that will be controlled by the key card switch.
- One of these scenes will be set to the desired levels the associated lights will come on to when the card is inserted.
- The other scene will be set to the desired levels when the card is removed from the switch, which in turn, will lock the devices at this level until the card is re-inserted. In most cases, this will just be a scene with the lights at 0% but depends on the requirements of the application.
Step 3: Programming the actions for the key card

The ⏫ button described what happens when the key card is not inserted in the switch, the ⏬ button describes what happens when the key card is inserted.
Configure the ⏫ (Card not Inserted) Setting
- Tap on 'Not in Use', then 'Controls Priority' from the list
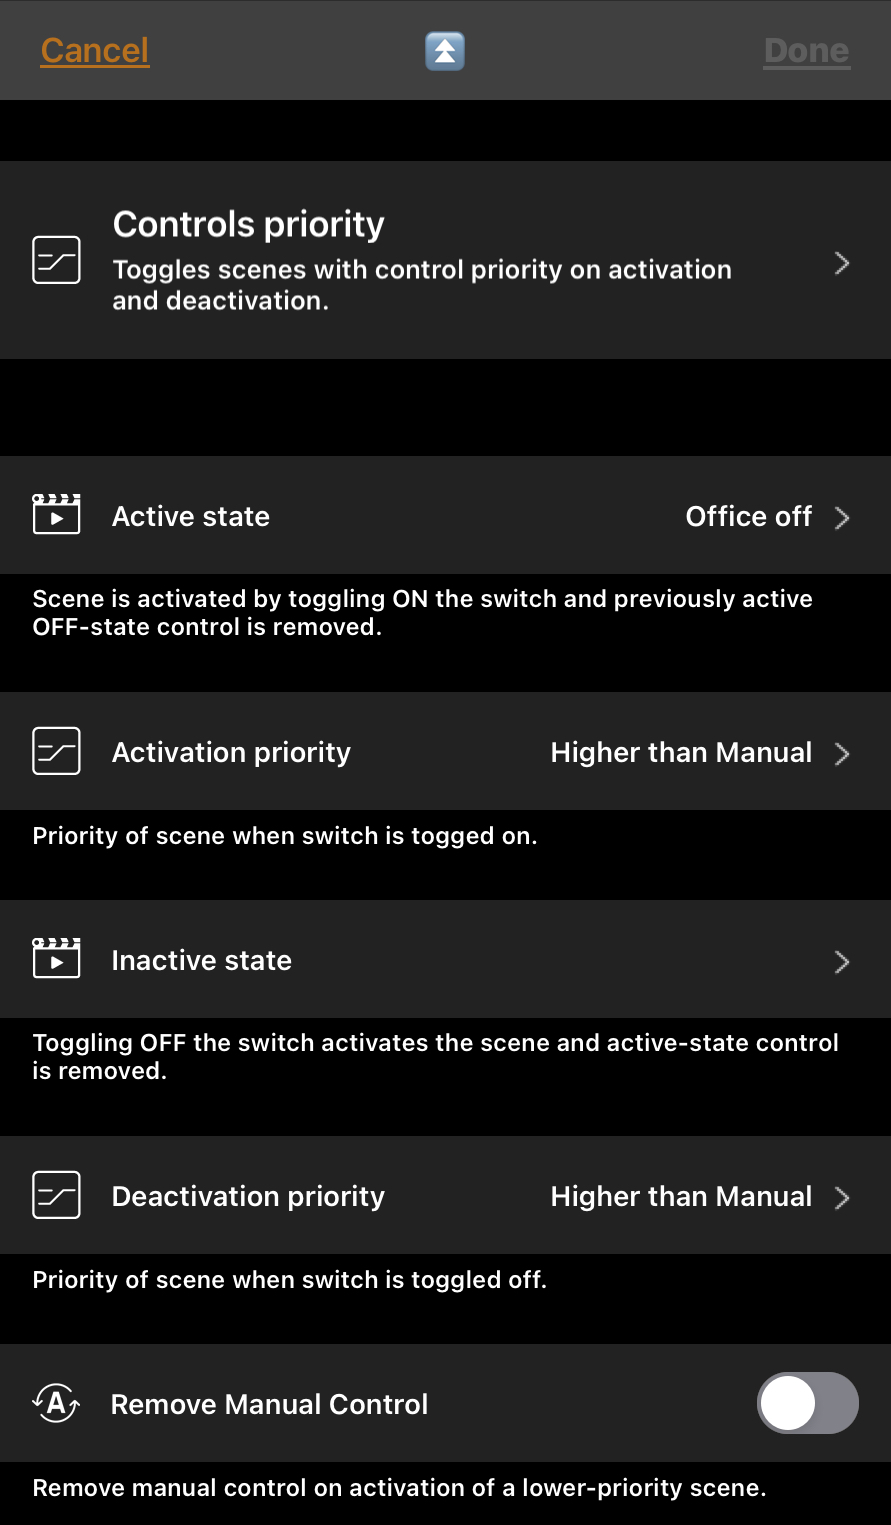
- Select the desired functionality for when the key is not inserted only. The configuration below shows the normal configuration of a hotel room key card. In this configuration, the lights in the hotel room are not controllable unless a card is inserted. For the ⏫ setting, we are telling our Casambi network to activate the off/deactive scene that we made in the previous step.
- For 'Active State': Select the off scene. Notice the 'Office Off' scene is selected in the image below
- For 'Activation Priority': Select 'Higher than Manual'. This will cause the 'active scene' selected to trigger when the key is removed and removes all other manual control aside from emergency overriding.
- Other priorities include: Emergency, manual control, higher than automation & lowest priority which may be applicable in other applications.
- For a hotel key card application, inactive state and priority is not required but is used in applications other then key cards.

Configure the ⏬ (Card Inserted) Setting
- Tap on 'Not in Use', then 'Controls Priority' from the list
- Select the desired functionality for when the key IS inserted.
- In the configuration below, the lights in the hotel room are not controllable unless a card is inserted. For the ⏬ (key inserted) setting, we are now telling the Casambi network to activate the active scene (and devices) that we made in the previous step.
- For 'Active State': Select the scene that the applicable lights will default to when the key is inserted. Notice the 'Office DL' scene is selected in the image below; this scene will trigger when the card is inserted, allowing the lights in this scene to be controlled.
- For 'Activation Priority': Select 'Manual Control'. This allows the user to fully control the associated lights while the card is inserted

Step 3: Test the setup
- For the setup that was discussed above, the lights will be set to 0% (Office Off scene) when the card is not inserted. In the image below, you can see that the @ (automation) symbol is controlling the lights, showing the key card is not inserted.

- When the key card is inserted, the automation symbol is removed and the 'Active Scene' is activated and full control of the associated lights is now possible.

Was this article helpful?
That’s Great!
Thank you for your feedback
Sorry! We couldn't be helpful
Thank you for your feedback
Feedback sent
We appreciate your effort and will try to fix the article

